安装
volatility2在kali下安装
配置python和pip的步骤我就先省略了
volatility2基于python2,我的kali里python与python2.7软链接,python3与python3.8软链接
1
| git clone https://github.com/volatilityfoundation/volatility.git
|
下载后进入文件夹
运行提示缺库,安装库函数出现以下错误
1
| ERROR: Command errored out with exit status 1: python setup.py egg_info Check the logs for full command output.
|
原因在于我使用的是中科大的国内镜像源,换成清华源可以解决
这里提供一种临时方案可以解决以上报错并成功安装
1
| python2.7 -m pip install -i https://pypi.tuna.tsinghua.edu.cn/simple --upgrade setuptools
|
安装缺少的库后仍然提示报错
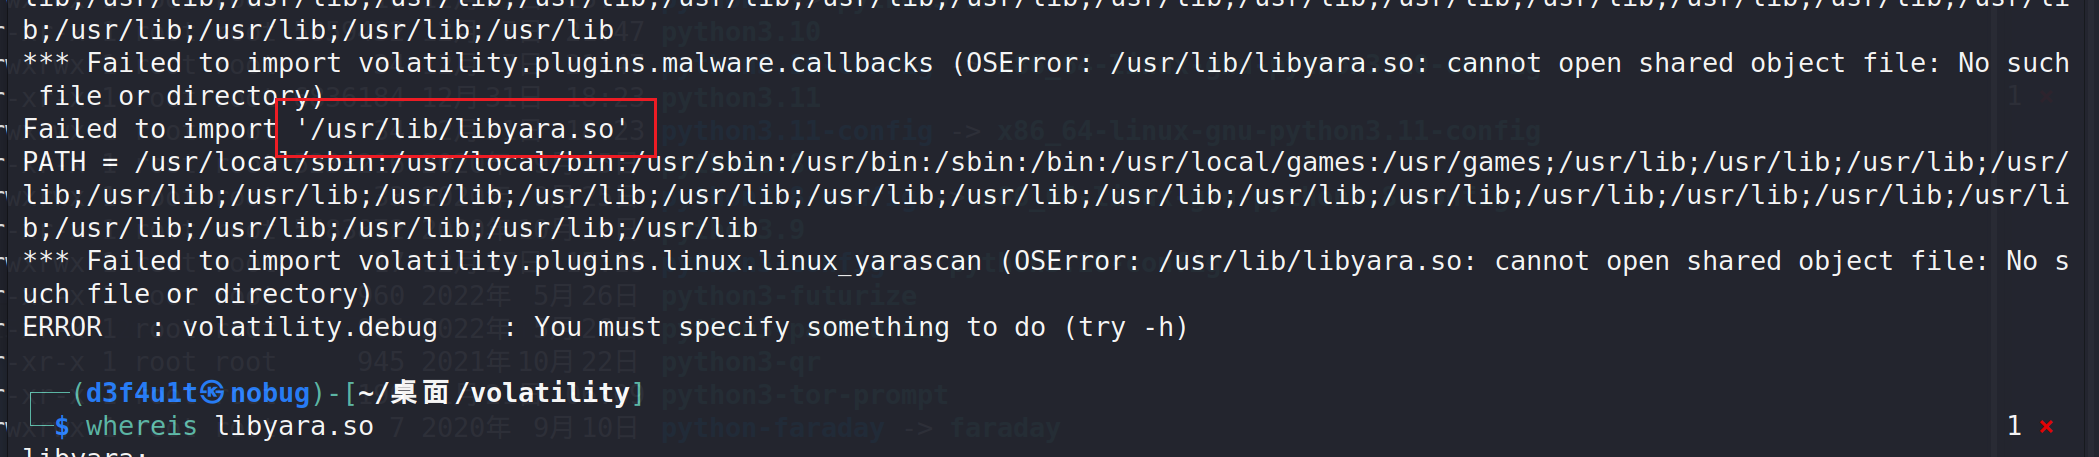
可以知道现在libyara.so的位置

建立软链接
1
| sudo ln -s /home/d3f4u1t/.local/lib/python2.7/site-packages/usr/lib/libyara.so /usr/lib/libyara.so
|
安装成功

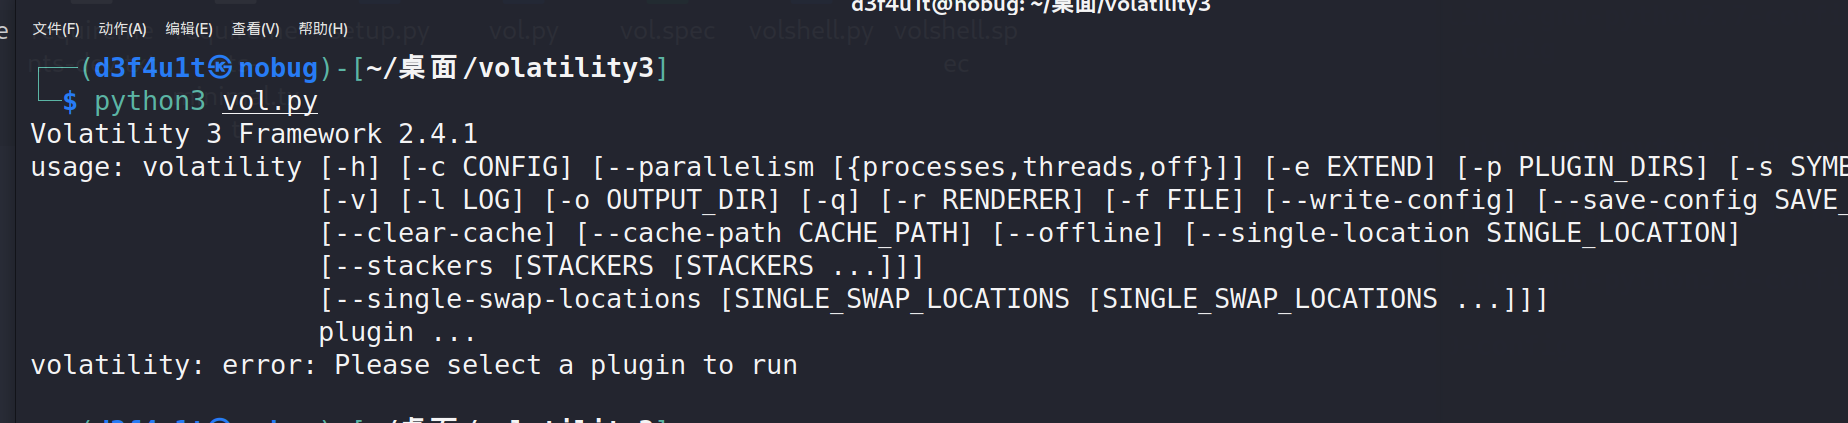
volatility3在kali下安装
1
| git clone https://github.com/volatilityfoundation/volatility3.git
|
安装需要的库,这里python的版本最好不要超过3.9,否则运行某些库会报错
1
2
| pip3 install -r requirements-minimal.txt
pip3 install -r requirements.txt
|
安装成功
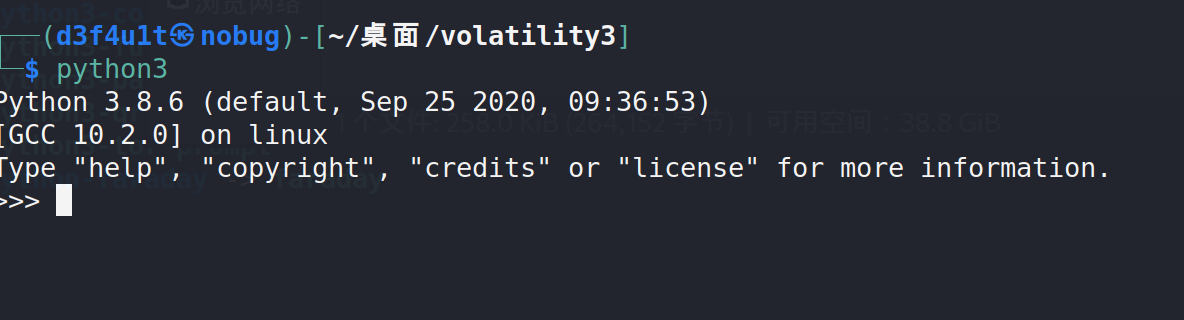
我的kali里存在多个版本python3.x,采用软链接的方式让命令默认为python3.8
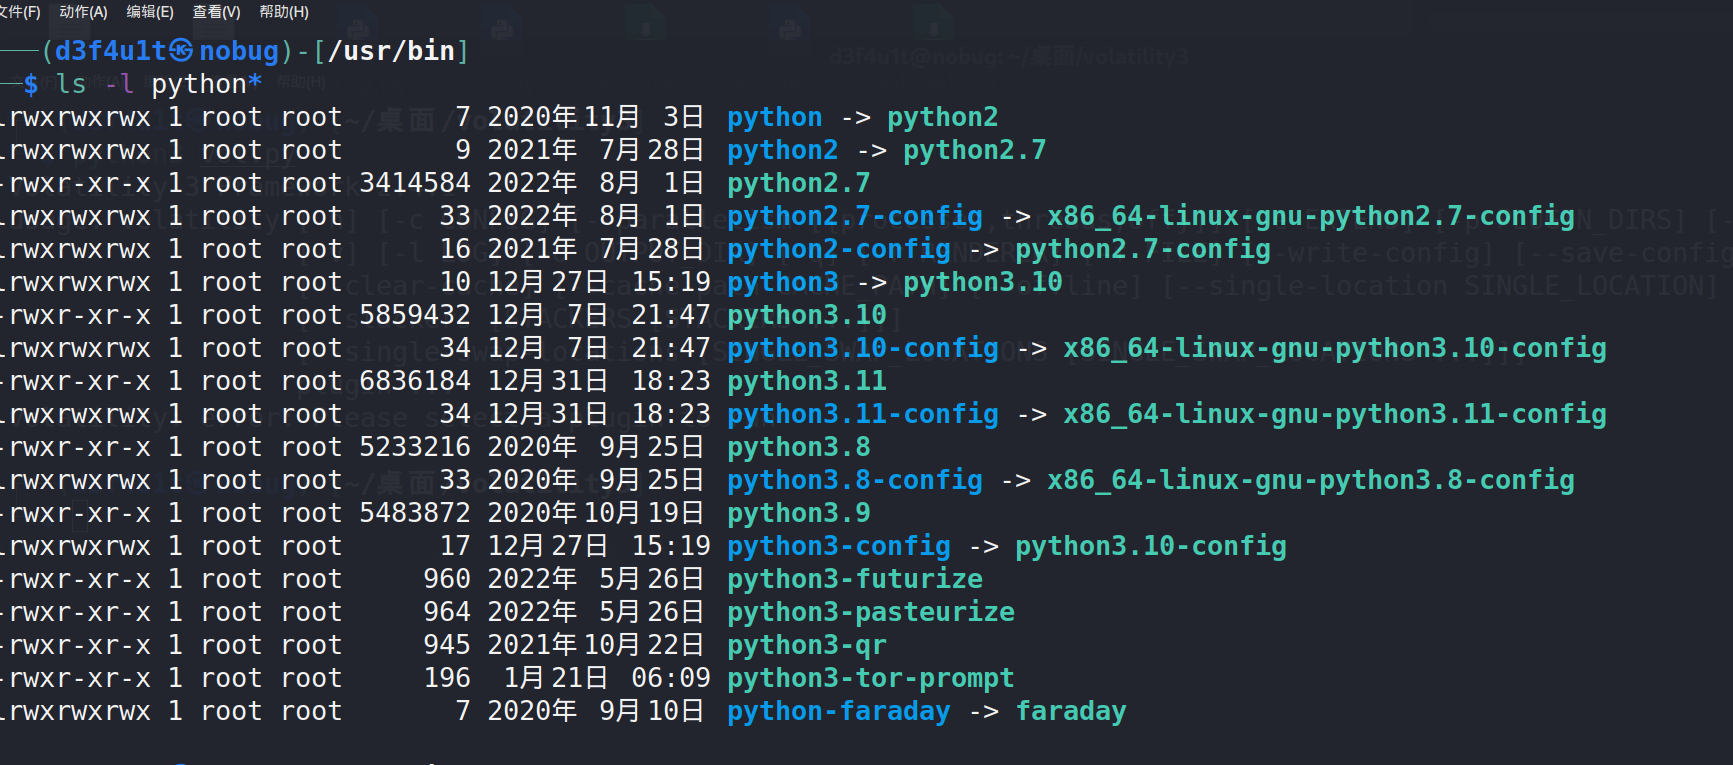
1
| sudo ln -s /usr/bin/python3.8 /usr/bin/python3
|
常用命令
volatility2常用命令
1
2
3
4
5
6
7
8
9
10
11
12
13
14
15
16
17
18
19
20
21
22
23
24
25
26
27
28
29
30
31
32
33
34
35
36
37
38
39
40
41
42
43
44
45
46
47
48
49
50
51
52
53
54
55
56
57
58
59
60
61
62
63
64
65
66
67
68
69
70
71
72
| # 1.解析镜像
Volatility -f 文件镜像 imageinfo
# 2.列出进程
--profile=xxxx pslist列出进程(pstree
# 3.cmd历史命令
cmdscan
# 4.文件扫描
filescan
# 5.c动态链接文件
dlllist动态链接文件
# 6.获取内存中的系统密码
hashdump
↓
Volatility -f xxx --profile=xxx hashdump -y (system的virtual地址) -s(sam的virtual地址)
lsadump
x
volatility_2.6_win64_standalone -f xxx --profile=xxx lsadump
# 7.userassist
提取内存中记录的当时正在运行的程序有哪些,运行次数以及最后一次运行时间
# 8.查看SID
getsids
# 9.恶意软件
malfind:用于寻找可能注入到各种进程中的恶意软件
# 10.获取SAM表中的用户
printkey:获取SAM表中的用户
# 11.访问记录
mftparser:各自文件访问的记录
# 12.时间轴
timeliner:时间轴线,时间长度跨度较大
# 13.解析mft命令
Volatility -f xxx --profile=xxx mftparser
# 14.导出mft命令
Volatility -f xxx --profile=xxx mftparser --output-file=xxx.txt -D mftoutput
# 15.获取truecrypt密钥
Volatility -f xxx --profile=xxx truecryptmaster
# 16.获取truecrypt密码信息
Volatility -f xxx --profile=xxx mftparser truecryptpassphrase
# 17.导出注册表:
全:Volatility -f xxx --profile=xxx dumpregistry --dump-dir=D:\text\
部分:volatility -f 1.raw --profile=Win7SP1x86 hivedump -o 0x93fc41e8(注册表的 virtual 地址)
# 18.扫描&导出文件
volatility -f 1.raw --profile=Win7SP1x86 filescan |findstr flag
volatility -f 1.raw --profile=Win7SP1x86 dumpfiles -Q 0x000000003e71e608 --dump-dir=./
# 19.查看内存中的偏移量
hivelist
.hivelist查看缓存在内存的注册表 包括地址等信息
常用注册表的值:a.SOFTWARE b.SYSTEM c.ntuser.dat d.SAM(账户密码表)
# 20.查看剪切板
volatility_2.6_win64_standalone -f 1.vmem --profile=Win7SP1x64 clipboard
# 21.提取内存中的进程
volatility_2.6_win64_standalone.exe -f 1.vmem --profile=Win7SP1x64 memdump -p 3720 -D ./
|
volatility3常用命令
Volatility3和Volatility2的命令使用以及操作基本相同,但是volatility3中不需要指定profile
1
2
3
4
5
6
7
8
9
10
11
| 1.系统基本信息(windows.info)
2. 进程列表(windows.pstree)
3. 进程命令行参数(windows.cmdline.CmdLine)
4. 服务运行状态(windows.svcscan)
5. 进程环境变量(windows.envars)
6. 动态库列表(windows.dlllist)
7. 扫描进程(windows.psscan)
8. 注册表数据(windows.registry.hivelist)
9.列出缓冲池(windows.bigpools)
10.列出转存文件(windows.dumpfiles)
11.扫描文件(windows.filescan)
|